Ingredients
Method
Prepare the Yogurt Mixture
- In a medium-sized bowl, add the yogurt. Gently swirl in the strawberry jam to create a marbled effect. Be careful not to mix it in fully.
Form the Popsicles
- On a non-stick flat plate or parchment paper, spoon small dollops of the yogurt mixture. Insert popsicle sticks into the dollops if desired. Place the plate in the freezer for about 2 hours, or until the yogurt is completely frozen.
Make the Chocolate Coating
- In a heatproof bowl, combine the chocolate chips and coconut oil. Melt the mixture using a double boiler: place the bowl over a pot of simmering water, stirring occasionally until smooth and glossy.
Dip the Popsicles
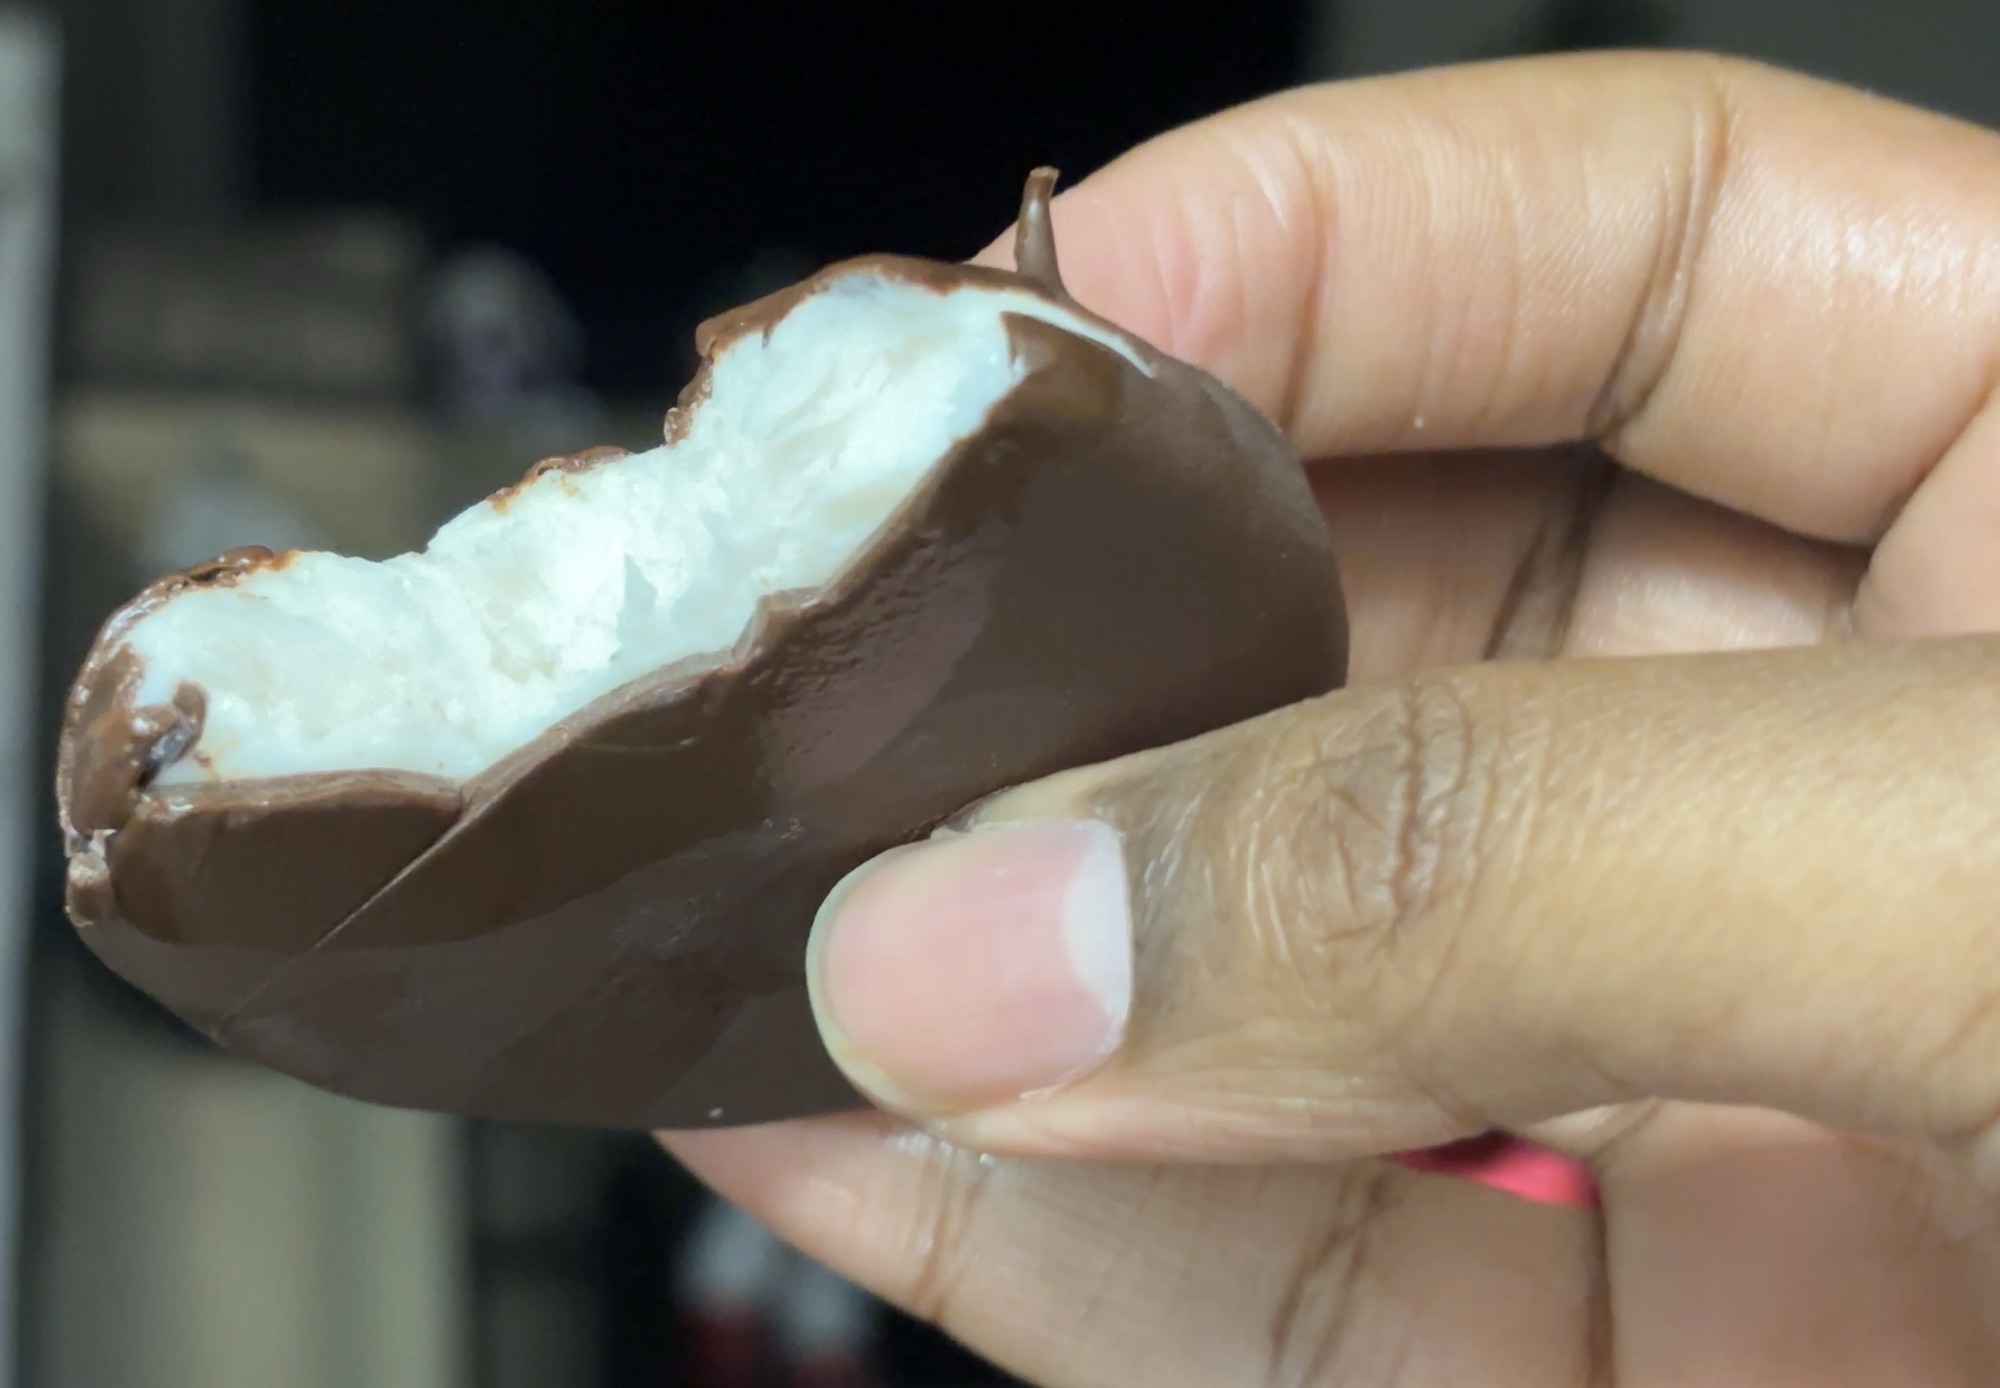
- Remove the frozen yogurt popsicles from the freezer. Quickly dip each one into the melted chocolate, ensuring all sides are coated. Work swiftly, as the yogurt melts quickly and the chocolate hardens fast upon contact.
Freeze Again
- Place the coated popsicles back on the plate and return them to the freezer. Freeze until the chocolate is fully set, about 15-30 minutes.
Store and Enjoy
- Transfer the popsicles to an airtight container or freezer-safe bag. Store in the freezer for up to 1 month. Enjoy whenever you crave a refreshing, crunchy treat!
Notes
This has been my favorite sweet treat for a while and I’m very happy to share it with you all ❤️