Tangerine Peel Candy Recipe
If you've ever wanted to taste the yummy candy from Pursuit of Jade, this recipe is for you! Enjoy
Ingredients
Method
Tangerine Prep
- Wash one tangerine thoroughly, removing all dirt. For a deeper clean, use salt to scrub the skin if desired.
- Cut the tangerine in half and squeeze out all the juice. Set the juice aside.
- Carefully separate the fruit from the peel. You can eat the fruit or set it aside.
- Cut the tangerine peel into small strips or large chunks, as preferred.
- Place the tangerine peels in a pot of boiling water. Boil for 15 minutes to remove bitterness.
- Drain the tangerine peels and discard the water.
Tangerine Candy Cooking Steps
- Add rock sugar, lemon juice, the boiled tangerine peels, and tangerine juice to a pot. Heat on low-medium.
- Stir constantly until all the rock sugar is melted.
- Bring the mixture to a gentle boil. Continue stirring for 5–7 minutes.
- *If you have a candy thermometer, heat the mixture to 245–250°F (firm ball stage). Remove from heat when it reaches this temperature.
- * If you don’t have a thermometer, use the cold water test: Drop a spoonful of the hot mixture into cold water. If it forms a ball that holds its shape but flattens when pressed, it’s ready. Remove from heat.
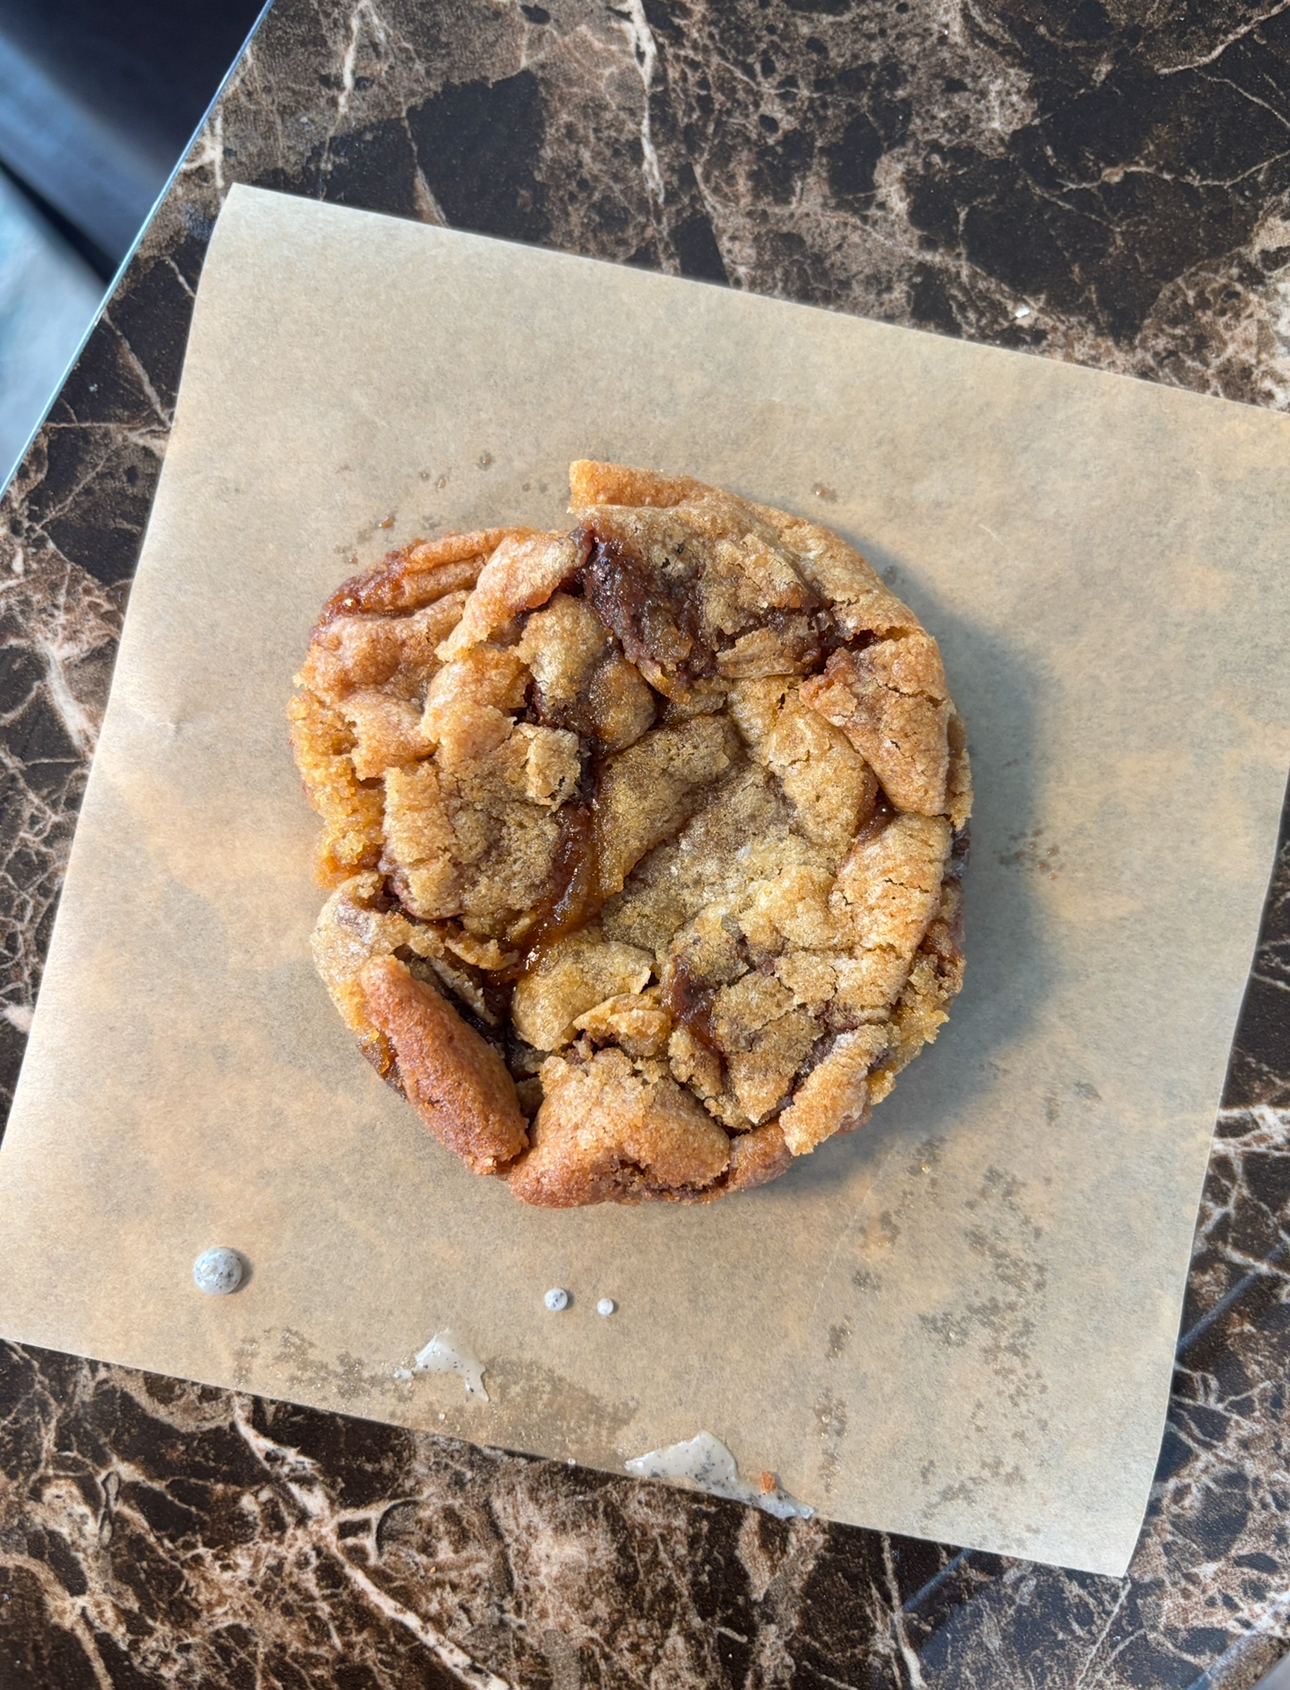
- Quickly whip the hot mixture until it becomes creamy and caramel-colored.
- Pour the candy mixture onto parchment paper. Let it cool for 10–15 minutes.
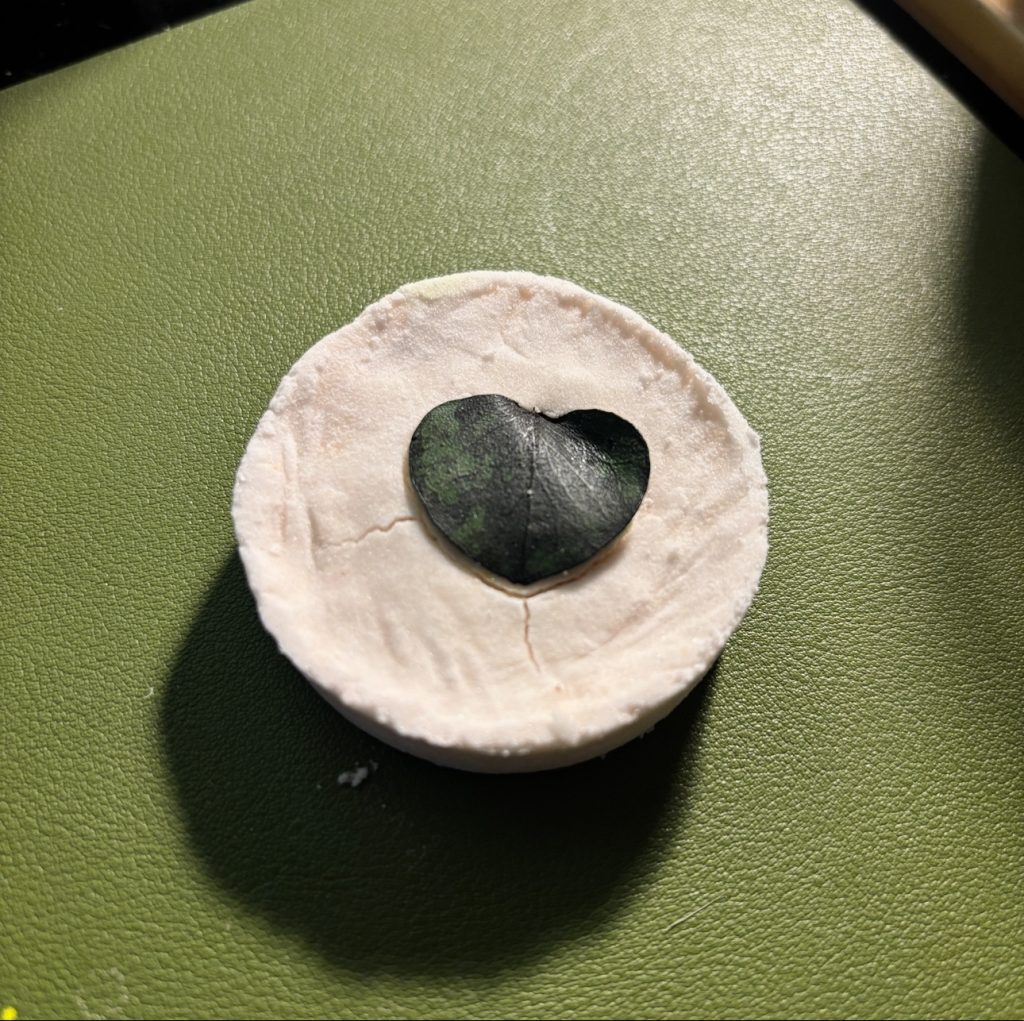
- When cool enough to touch, roll the candy into small balls by hand.
- * Optional: Toss the candy balls in a little rice flour to prevent sticking.
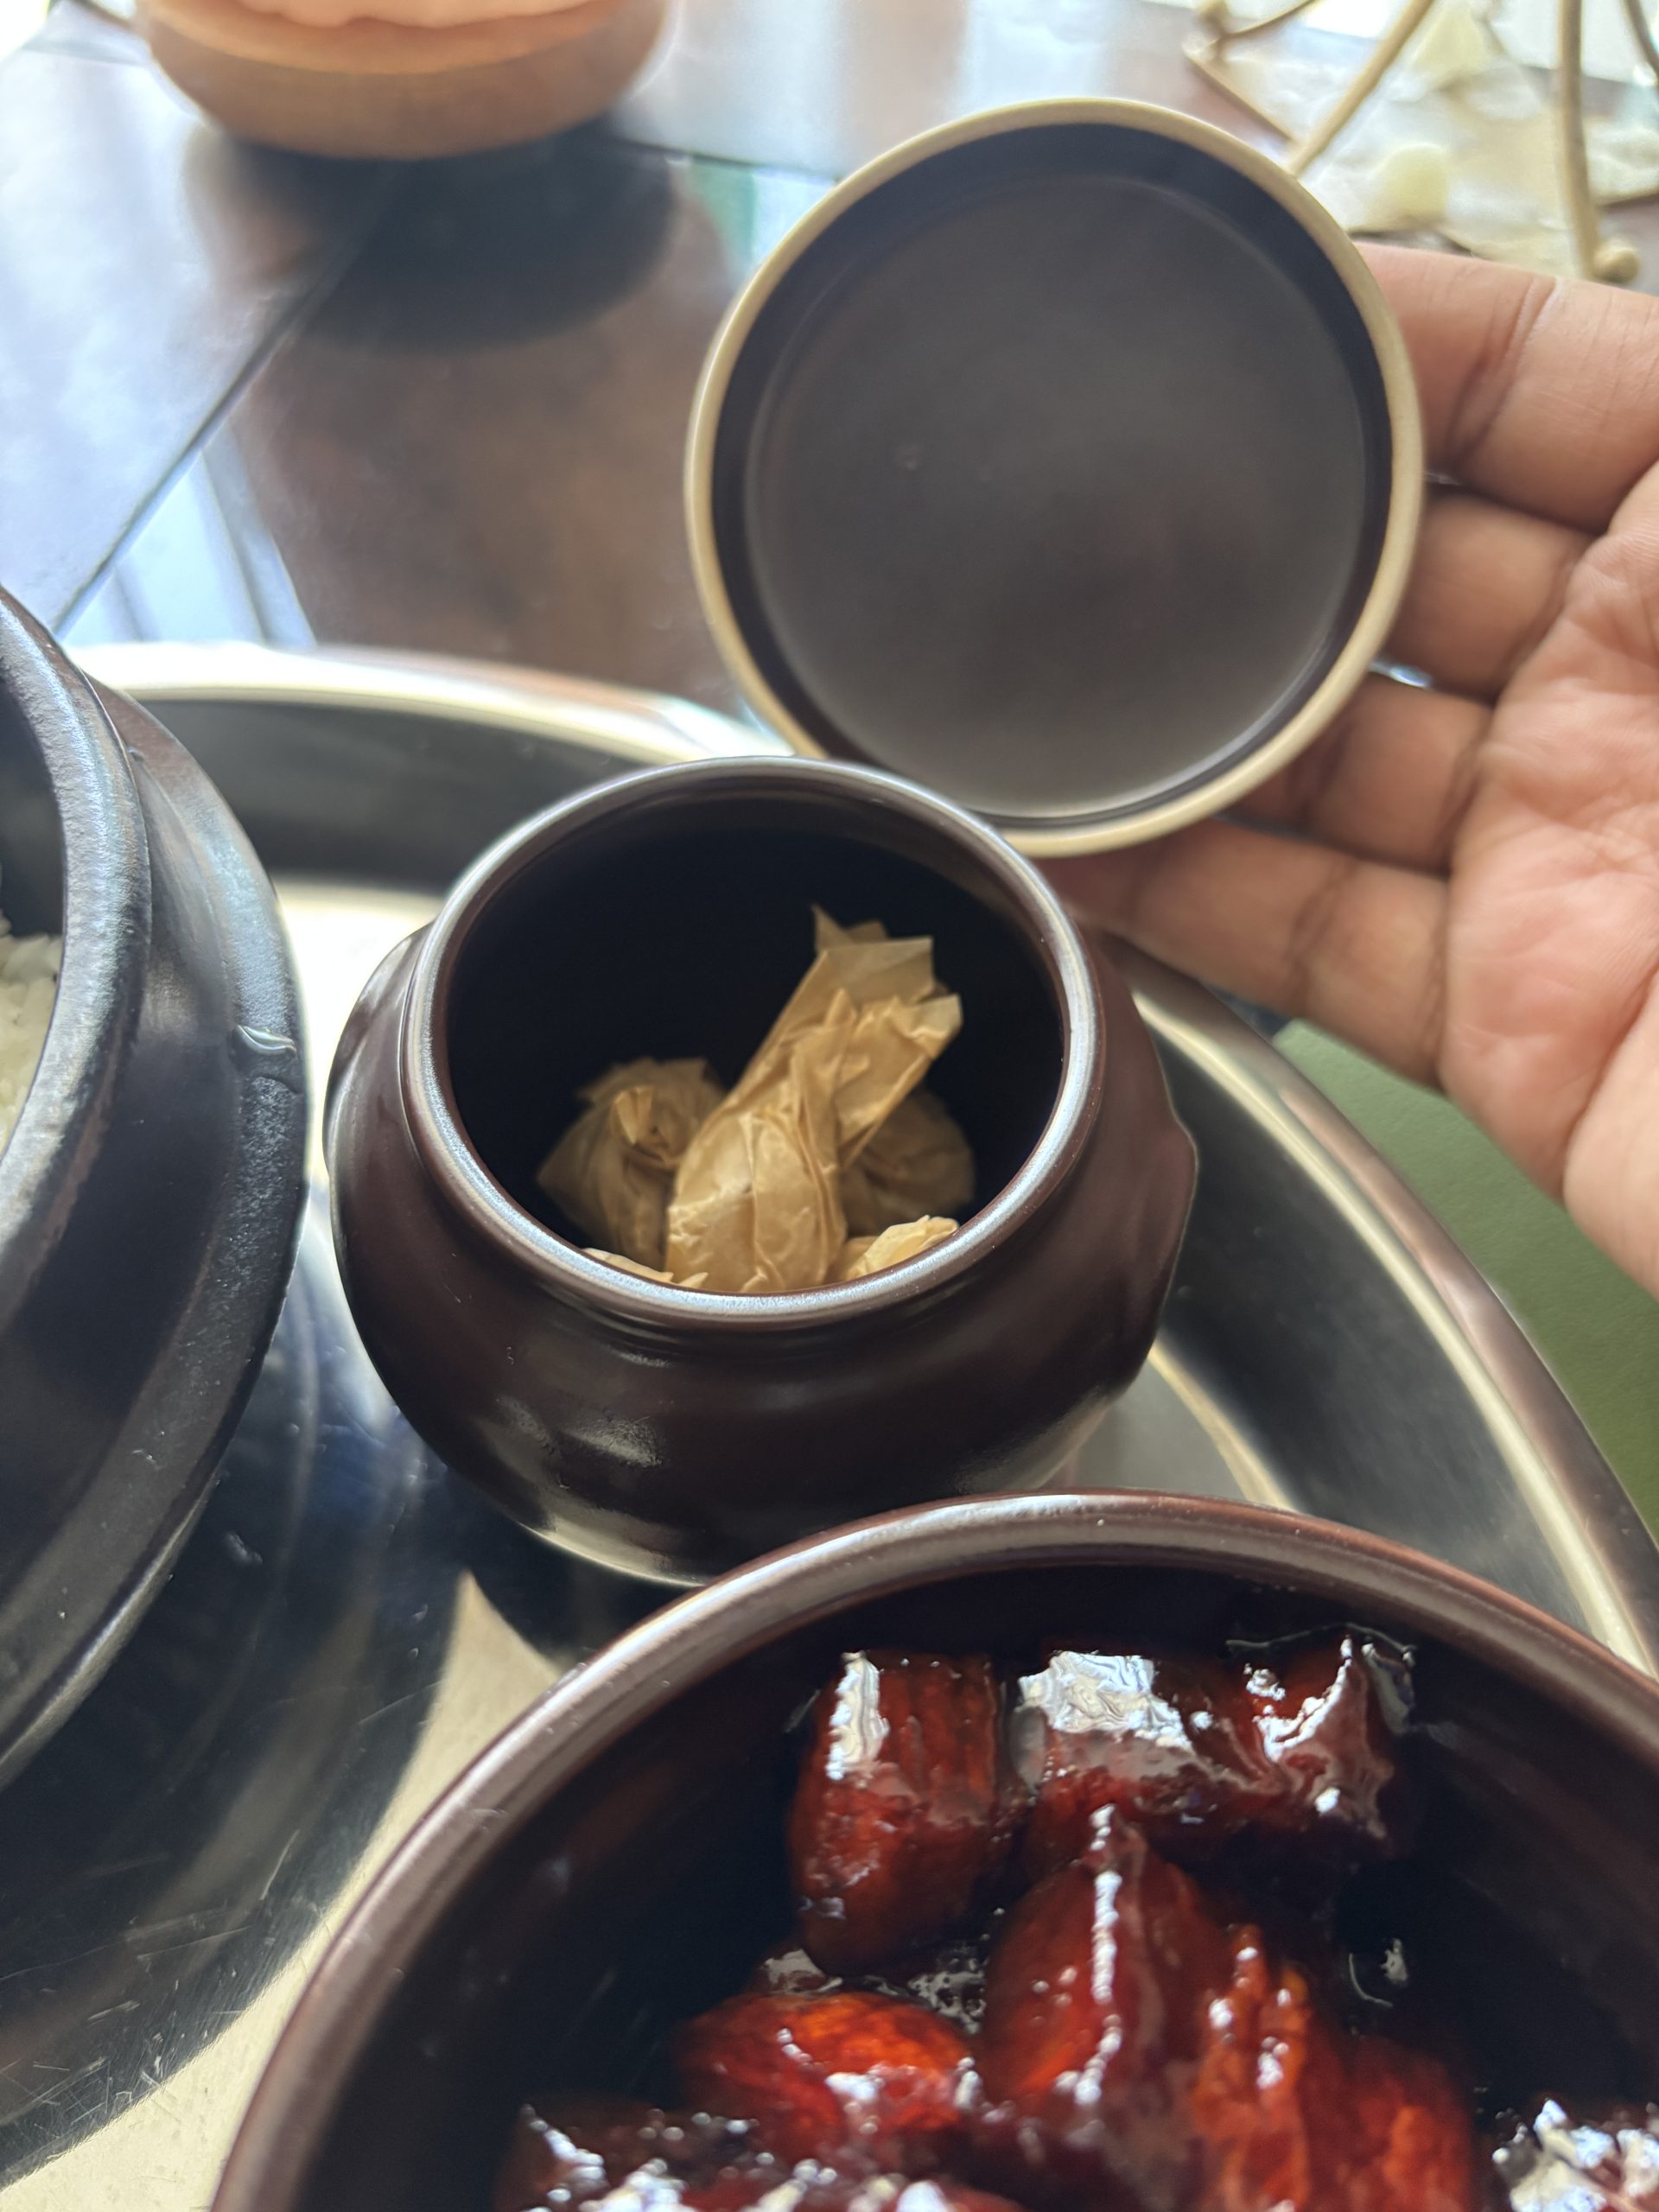
- * For presentation, wrap each candy in parchment paper or store it in a jar.


Leave a Reply